Tutorial - Steps in Quilting
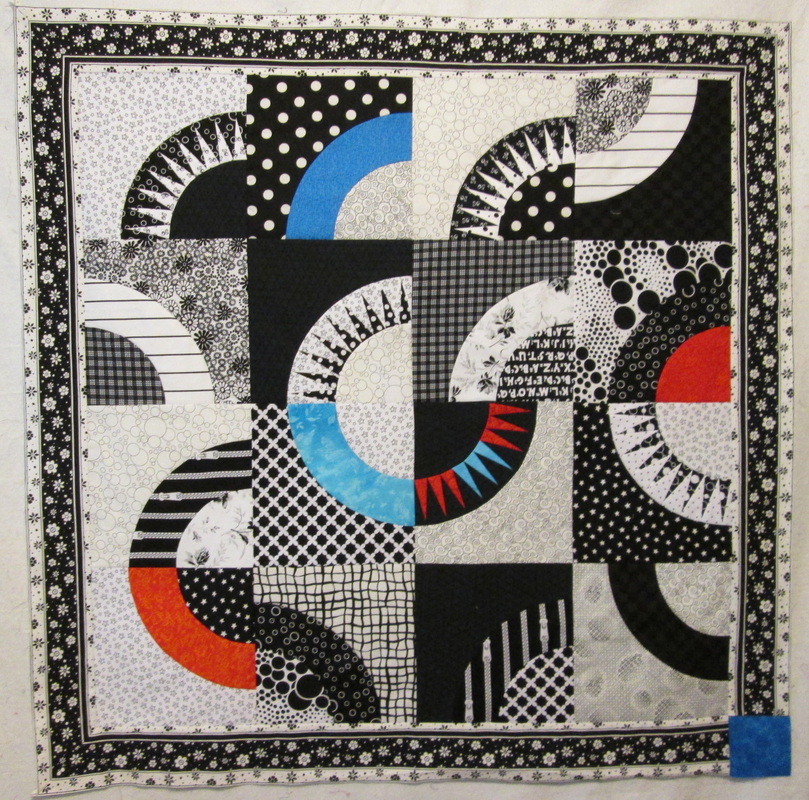
This is the unquilted top
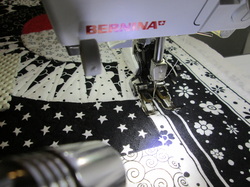
This is a tutorial showing how I approach quilting and the order in which I do each step. In this quilt I decided to use the fabric designs as inspiration for the quilting since they are so dominant in the quilt.
This first step is to baste the quilt. I do spray baste and there is another tutorial on this site showing the steps for that.
Once it is sandwiched, basted and pressed, then this tutorial starts.
This first step is to baste the quilt. I do spray baste and there is another tutorial on this site showing the steps for that.
Once it is sandwiched, basted and pressed, then this tutorial starts.
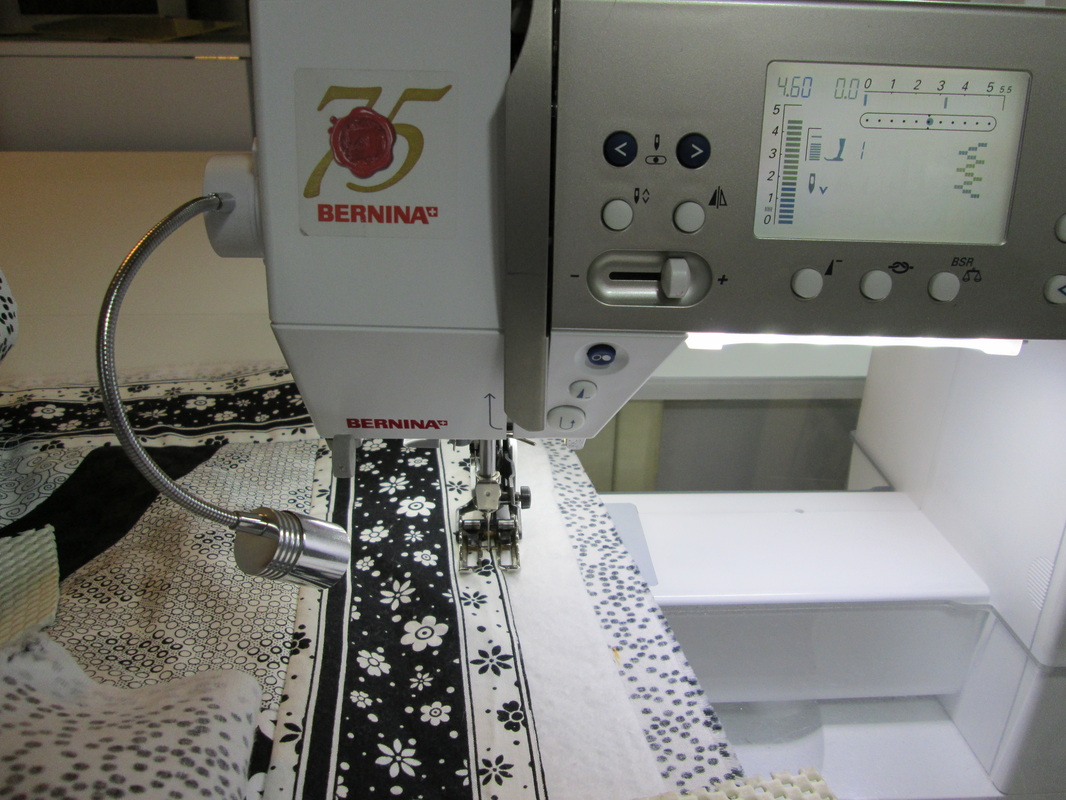
Step 1 - Ditching
Very first quilting line - between the border and the quilt interior
The first step is to ditch. In this quilt I ditch every seam and I used clear monofilament thread in the top and Superior's Bottom Line 60 wt. polyester thread in white in the bobbin. My thread in this instance was Madeira's Monofil 60 wt. in clear. I am using a walking foot and the very first line I ditch is the longest straight line in the quilt. In this quilt it is (and usually is) the line between the outer border and the interior of the quilt. I start along one side and stitch all around the quilt. This keeps the longest straight lines straight. I make sure while basting that straight lines are straight and ditching the longest one first keeps it that way. If you start quilting in the center and let the quilt move out as you quilt, it results in wavy borders. I always battled this in my quilting before I started doing it this way. Because the quilt is securely attached with spray baste, it really stays very stable. I also ditch either every seam or nearly every seam and that holds everything securely in place as I start to add more detailed quilting.
Next would be ditching between rows of blocks. On a quilt with more borders, I would work from the outside towards the inside finishing each border before starting the block rows, but this quilt only has one border. Once again, I do work from the outside in, and I'm still using the the walking foot. This quilt only has 4 rows of blocks so I do this row, then the center row, turn the quilt 180 degrees and do the final row, always keeping the bulk of the quilt to the left.
Now I am ditching across the rows - same outside-to-inside order.
2-Basting the edge
Basting the outside edge of the top.
One more step before I take off the walking foot. I turn the stitch length to 4 or more (a long basting stitch) and get the very outside edge nailed down. This can be done anytime before you add free motion stitching to the border, but I like to do it now because it is easiest with the walking foot and putting the walking foot back on later is a pain. I do still have the clear thread in the machine - it doesn't matter but this tends to be pretty inexpensive, so why change? I am stitching less than 1/4" from the edge, so that the seam allowance for the binding will be inside the basting and I won't need to remove it later. However, if you accidentally go a little too wide, the basting length will be easy to remove should a section end up showing. At this point it is really nice to have that extra several inches of batting and backing around the quilt for a "handle" to help you move the quilt. If you skip this step you can end up with a border that pulls and wiggles out of shape as you free motion (or even straight line!) quilt it. Just adding extra border and trimming later tends to result in a border that is wider in some areas than others and just wouldn't work with a border stripe (or pieced border) like this one!
3-Free motion ditching all other seams
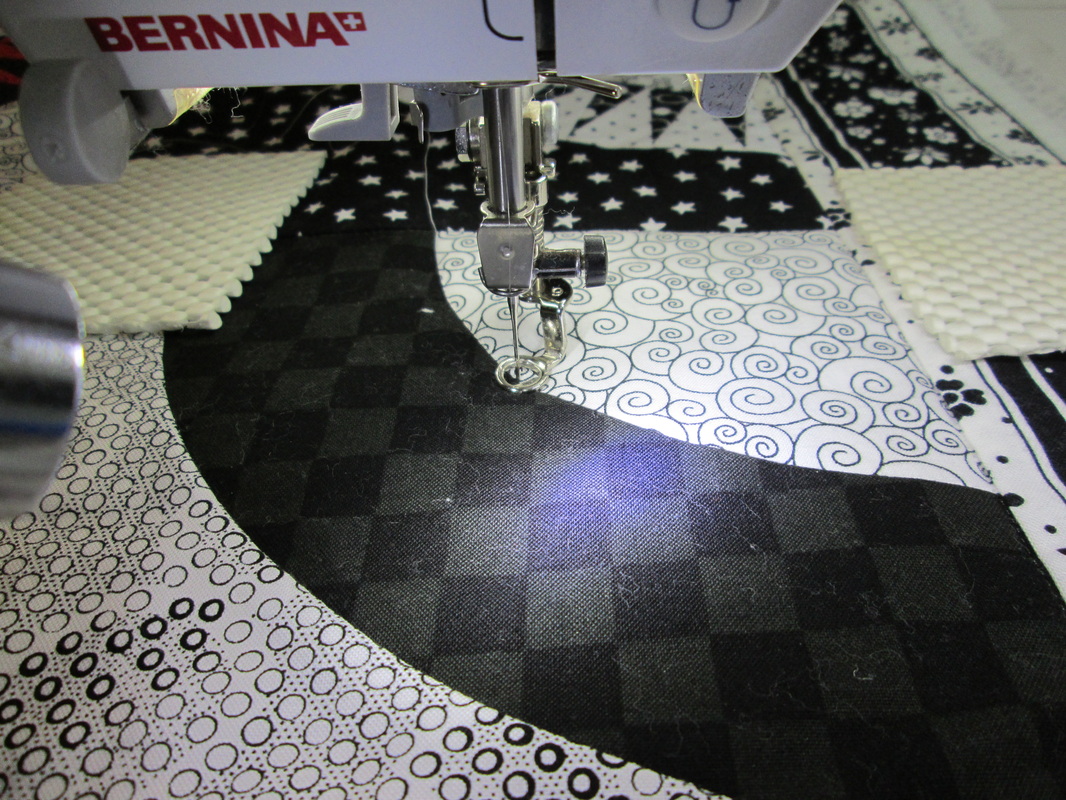
Free motion ditching the seams within the blocks.
Now I have switched feet and put on my free motion foot. I do still have the clear thread in the machine. The feed dogs are dropped and I am guiding the quilt under the needle. Now you can stitch all the piecing seams of the blocks without needing to turn the quilt through the arm of the machine. Because the blocks are ditched between the blocks, it doesn't matter which block you do or in what order. This quilt has 2 curves per block to ditch and 5 blocks with spiky points to ditch. If you would rather do all curves and then go back to do points - fine. If you want to do points first and then all curves - fine. If you find it easiest to finish one block at a time - fine, too!
Do I ditch every seam in every quilt? - well mostly. Ditching makes the piecing "pop", really delineates those pieced lines that you have just spent so much time making. I often hear quilters say that they don't want the quilting to "take away" from the piecing so they are just going to do an all over design. I think that distracts from the piecing and really MUCH prefer a ditched quilt. It also structurally ensures that your quilt will not unravel as you wash it. I have seen many quilts that were not quilted enough to secure the seam allowances. Remember that you have only 1/4" of fabric holding your top together which will ravel out pretty quickly without proper quilting. Ditching holds every seam secure and tight - so does stitching across the seam line frequently - but ditching is my preferred method.
So when would I not ditch a seam line? When there is a seam that is structural but not part of the design. You often see this on paper piecing. There will be seams through a design or background that are just there for making the block, not the design. In those cases, I wouldn't emphasize the ditch by stitching in it, but cover it with whatever design I was quilting in the area. There are other examples - a log cabin with a light and dark side would often have 2 "logs" next to each other around a corner of the same fabric - maybe you would opt not to ditch the separating seams in that instance.

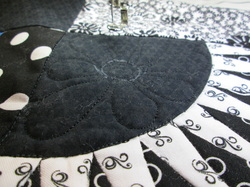
Ditching the points - not perfect, but the clear thread means this will be hard to see when the quilt is done!
4- Free motion quilting the biggest designs
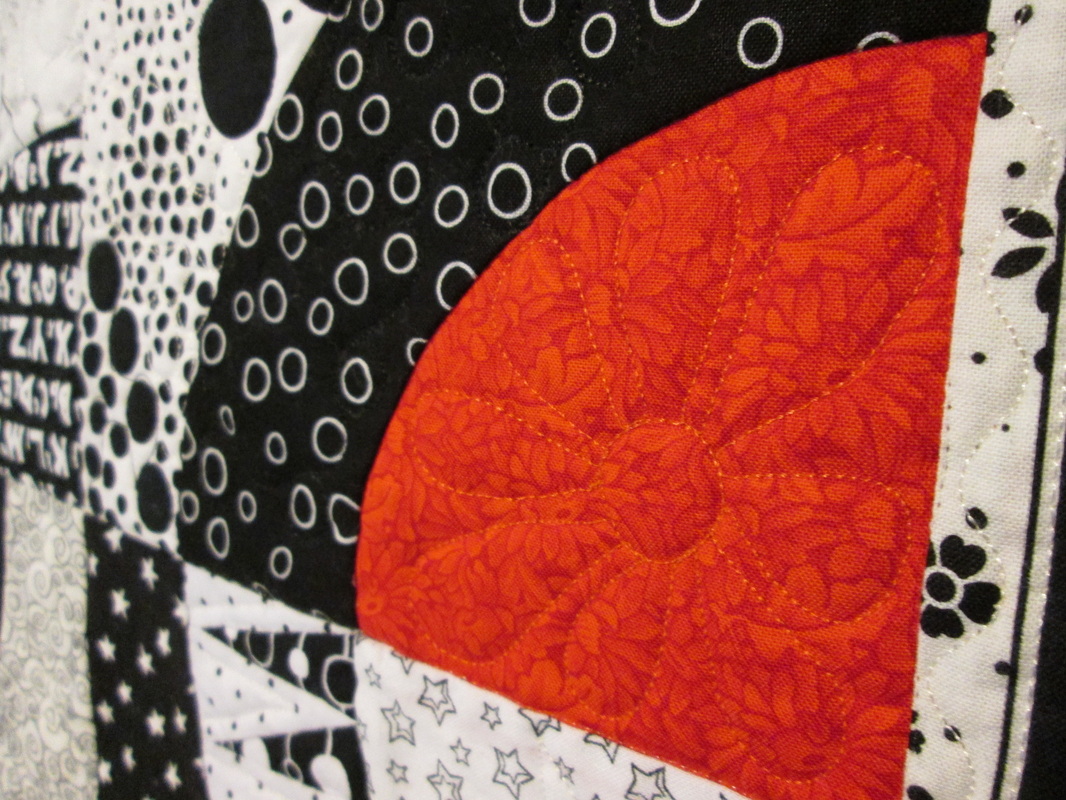
Now I have switched to black thread in the top and black Bottom Line in the bobbin. I have decided to add large simple daisy-like flowers to some of the fairly plain areas - both the border fabric and one of the block fabrics have simple daisy flowers in them. In this case all I drew was the center circle (I traced around a small spool) - approximately in the center of the area and then added the petals.
This is one of the least dense designs I plan to do, so I start with the least density. I want to quilt from least to most density across the top. This means things like feathers, open shapes, big designs are stitched first wherever they fall on the quilt. I will do some of these in orange or white thread, so I'll do all the black ones first, then other colors.
Why, not just stitch all the black first? Because, the heavier the density, the more "draw up" you get on the quilt. If you quilt an area densely, before you add other designs to the adjacent area, it can be so "gathered" that it is nearly impossible to quilt it without puckers or pleats. Gradually increasing the density means easier and prettier quilting!
Here I have switched to white thread, top and bottom, and I'm doing a large swirl (also a design printed in some of the fabrics)
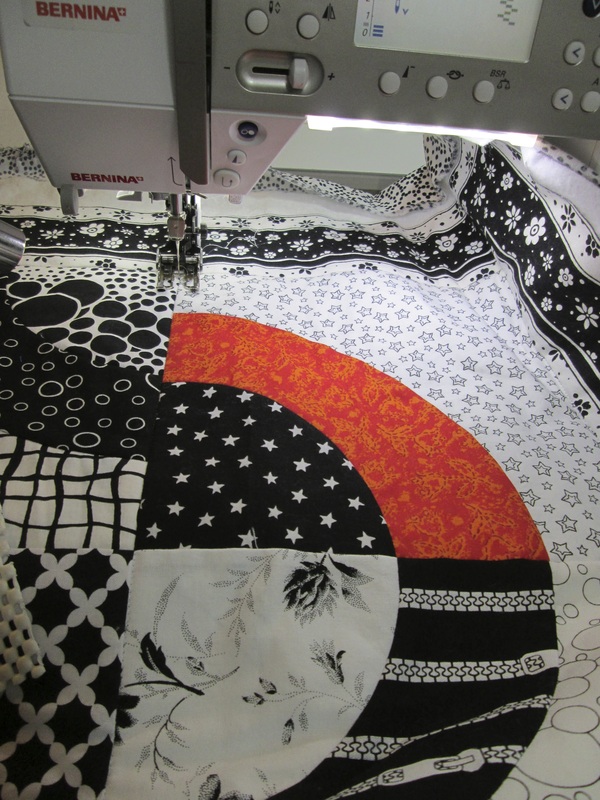
Here I've switched to orange thread (top and bottom) for another large flower.
5- Free motion quilt smaller designs
Once the largest designs are done, go to smaller designs. In this case there are several areas with stripes. I did a straight free motion in white beside the dark pinstripes and then filled the areas with crosshatching and circles.
There is certainly some quilting of smaller designs before larger ones in different blocks. To some extent you quilt what you think of when you think of it, and as much of one color before you change to another as you can. But if you have a very small filler stitch, you really are much better off not to stitch it until all the surrounding large designs are done.
Once smaller designs are done, do any very small filler stitches. There are none on this quilt.
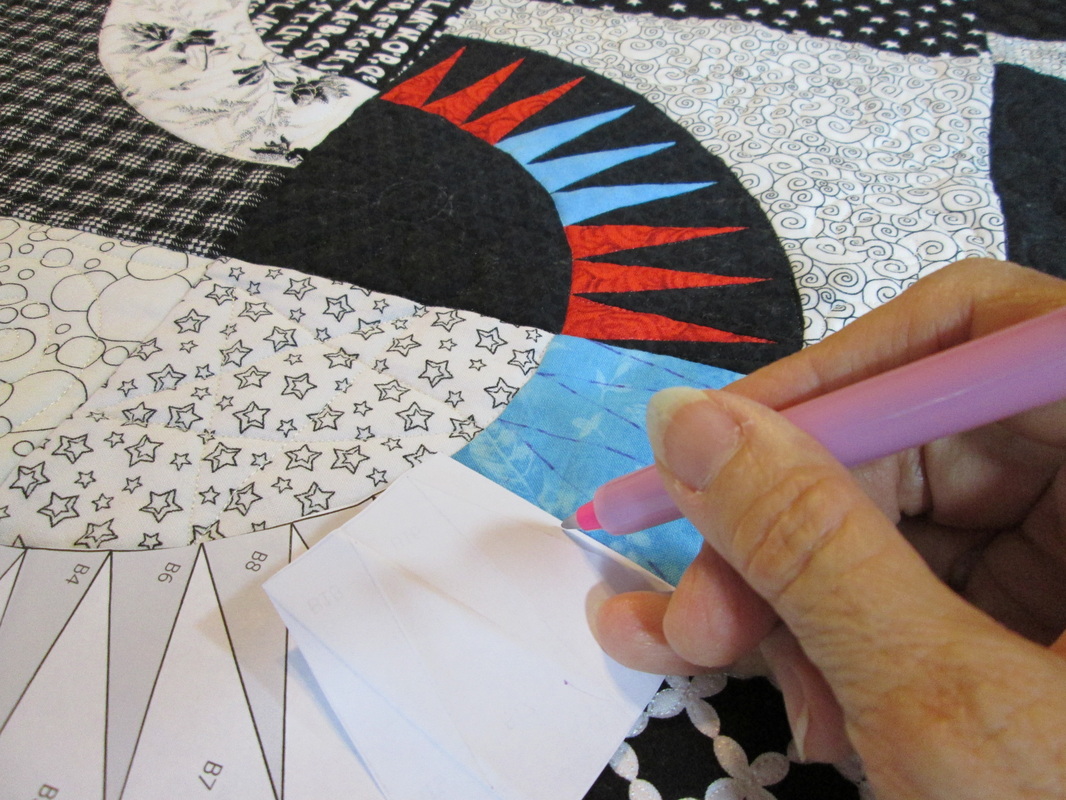
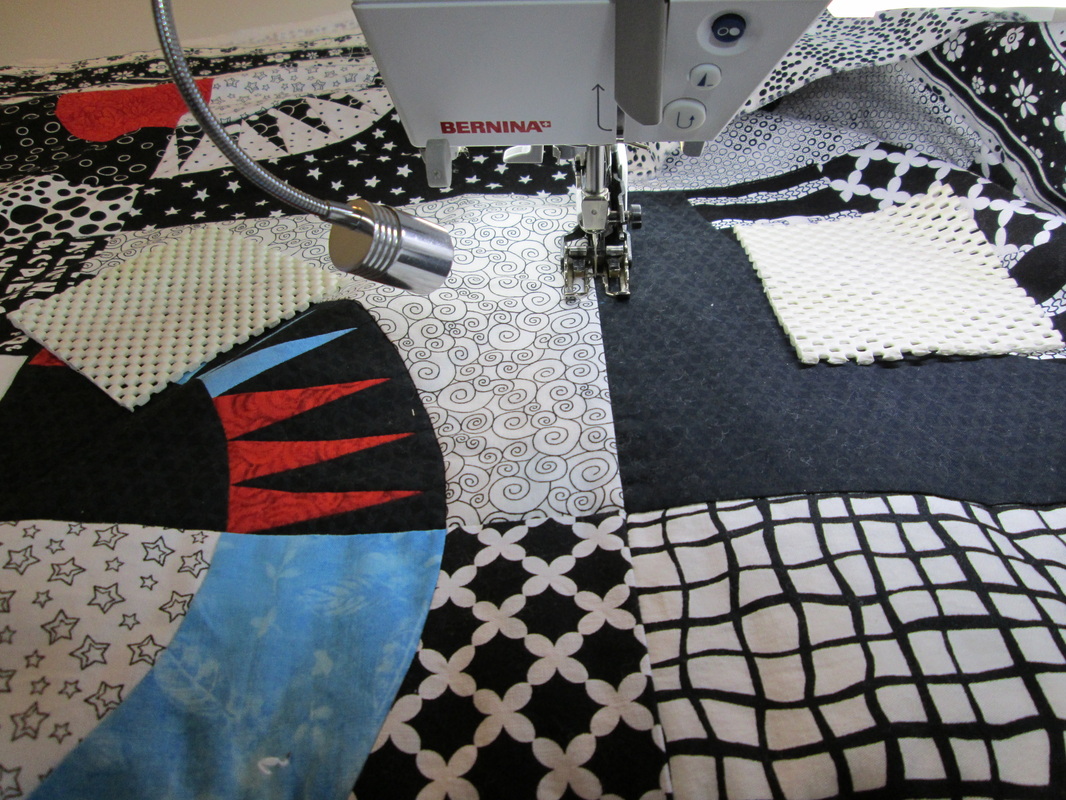
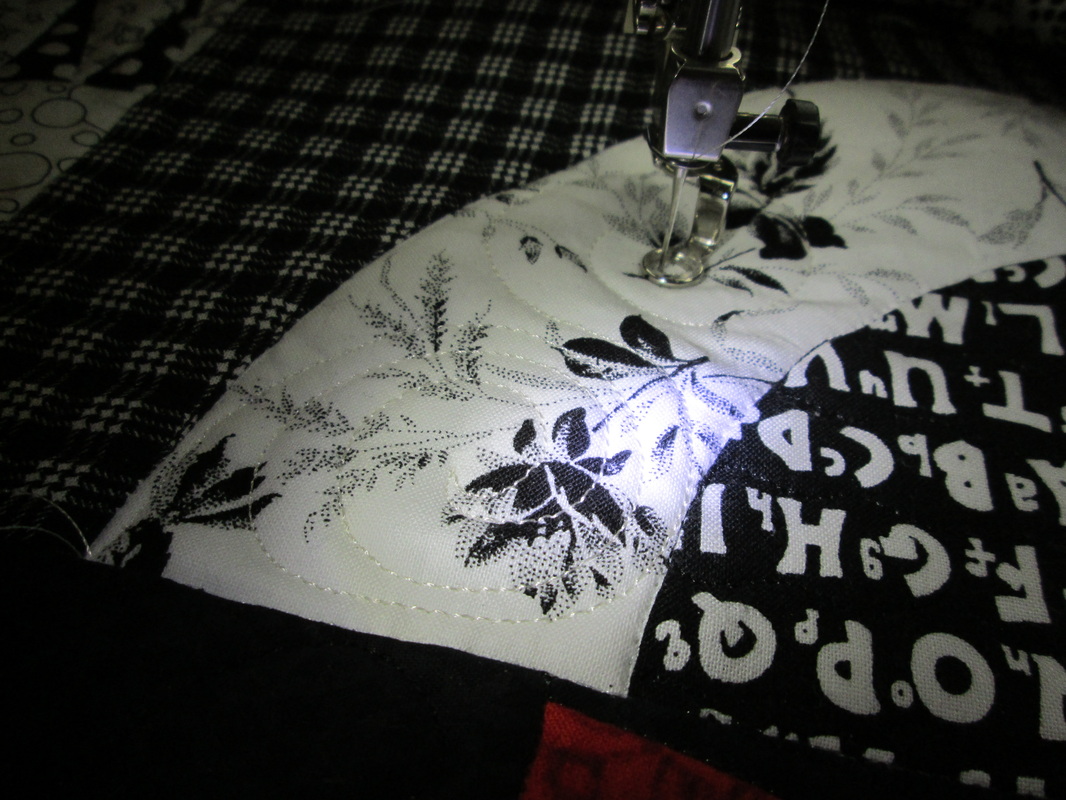
Here I am marking the "ghost" spikes in an unpieced ring to mimic the spikes in the other rings. I'm using the paper piecing pattern and folding it along the fold lines and marking the spikes. Each spike also gets echoed on the outside, which puts it in the smaller density category. I have already done the echoing in the black around the spikes in the block above.
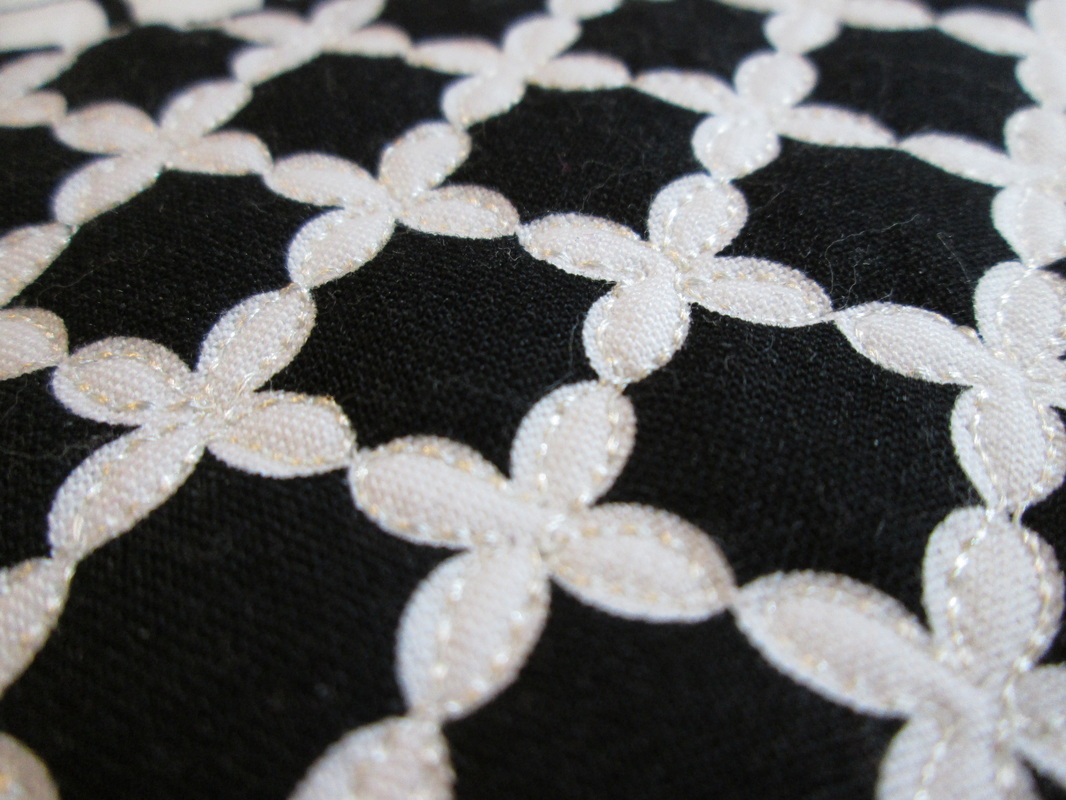
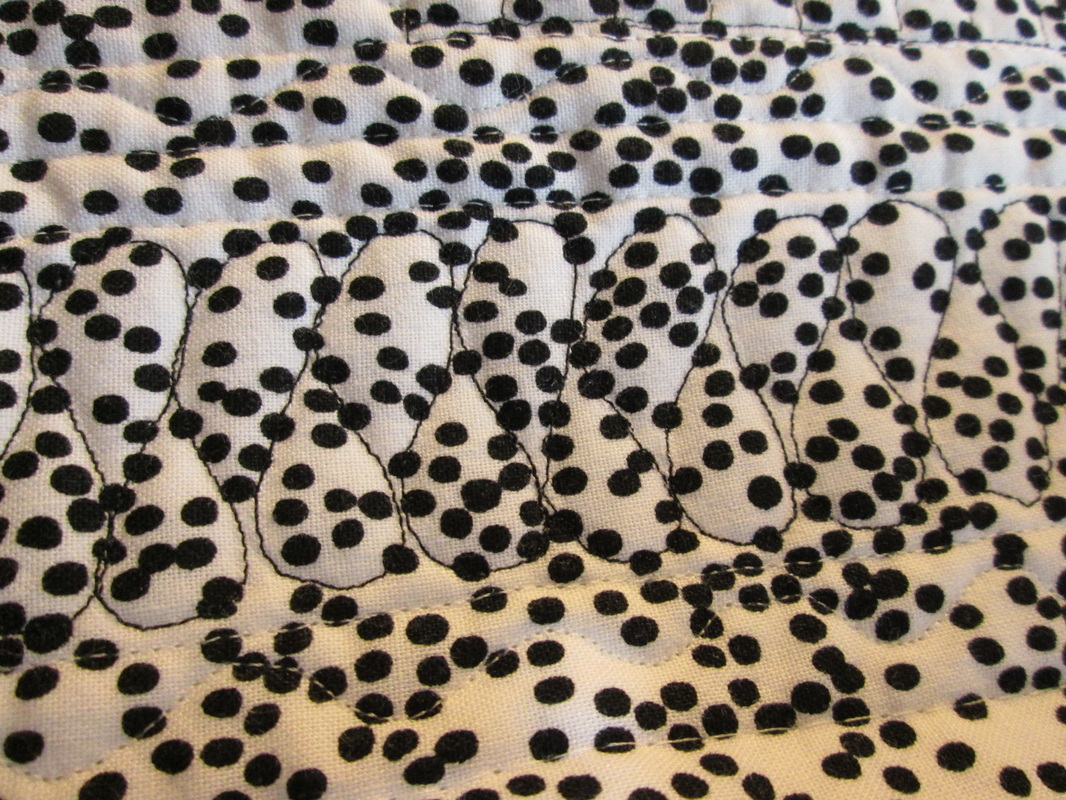
This is another fairly small design - I just opted to quilt in the white part of the print. It is reminiscent of pumpkin seed quilting and gives a really nice texture to this area.
6- Border quilting
I usually save the border for the end - but not always. There is no reason not to quilt it, too, as you do the different densities of design on the interior.
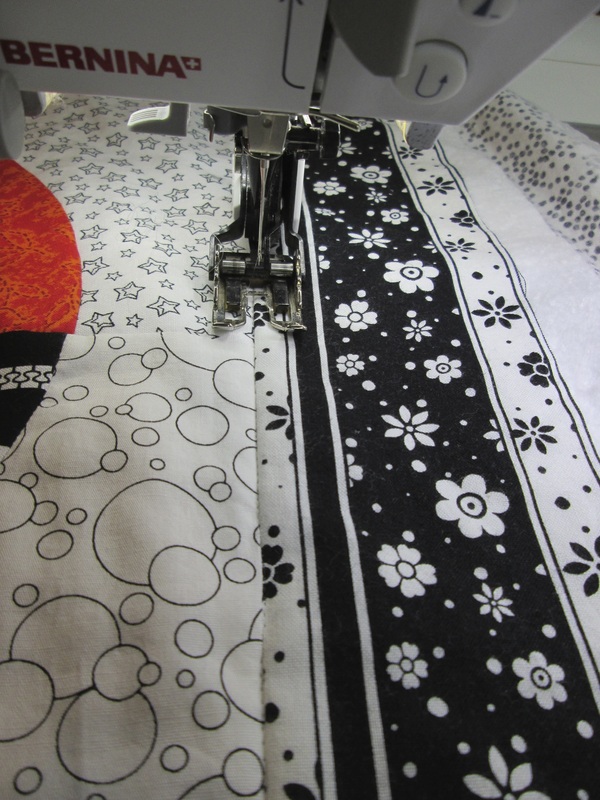
In this case, I need to switch back to the walking foot - I probably should have done these straight lines after my edge basting, but I didn't think of it. I have white thread top and bottom and am stitching between the black lines. There are three rows of this all around the quilt. It is seldom that I would need to do so many straight lines, but this fabric seems to call for it.
In this case, I need to switch back to the walking foot - I probably should have done these straight lines after my edge basting, but I didn't think of it. I have white thread top and bottom and am stitching between the black lines. There are three rows of this all around the quilt. It is seldom that I would need to do so many straight lines, but this fabric seems to call for it.
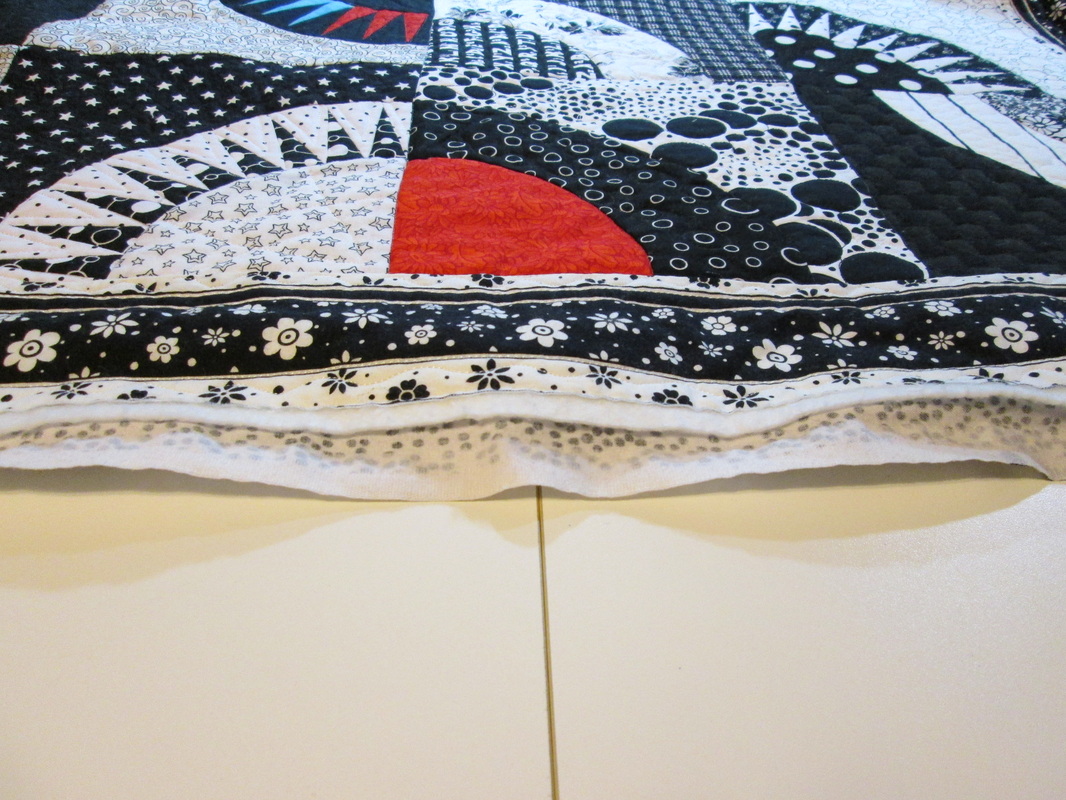
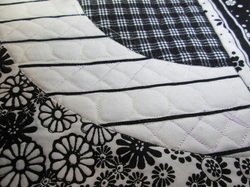
Here I have added a free motion curving line in white thread in the white stripes on either side of the border. But as you can see, the border is still not quilted enough. It is waving - this is caused by not being quilted as densely as the rest of the quilt.
So here is my solution. (I'm showing this from the backing side so you can see the black stitching.) This is a ribbon candy design and I stitched it over the black stripe in the border. I also quilted a daisy flower in the blue corner stone in the border and the quilt is done.
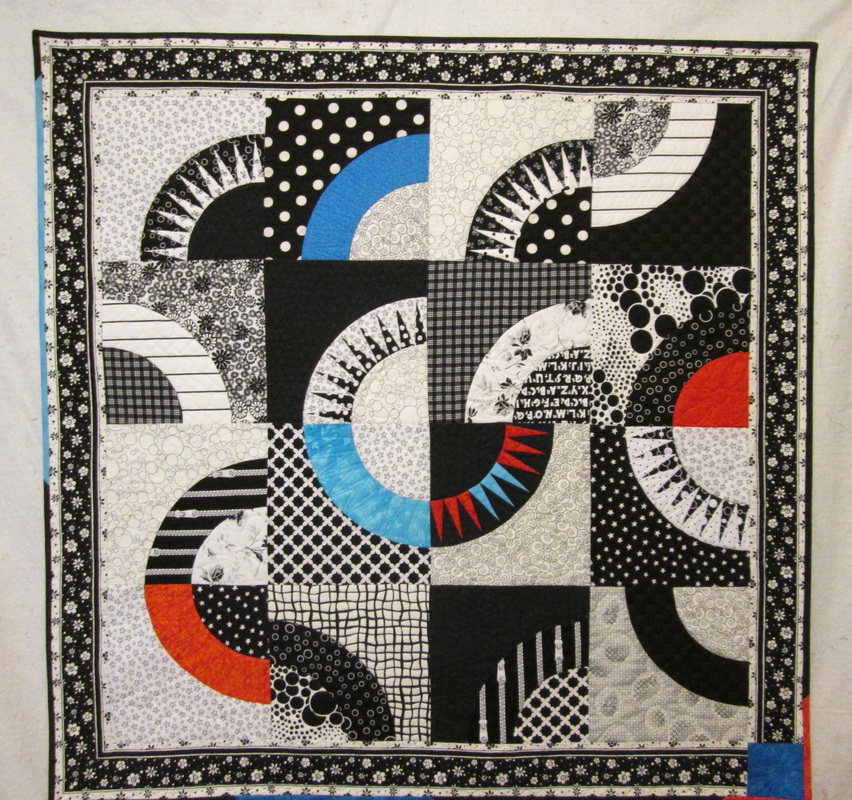
Here is the finished quilt! I bound it with a few random pieces of color spicing up the black binding.
Thanks for following along with my process. I have found this order to be the best for me and my quilts. It has resulted in many ribbons for my work, but also in many enjoyable gifts and quick charity quilts, also. I hope you find it helpful!
