Tutorial - Basting a Large Quilt
Here is a picture tutorial on how I handle a large quilt. In these pictures I have already used my basting spay on the wrong side of the backing and on the wrong side of the top. I always spray outside, either over a rail, or flat on a surface (or the ground) covered with an old bed sheet. I use either 505 Spray n Fix or Sullivan's Quilt Basting Spray in the pink can and hold the can 8-10 inches from the surface and give it one light coat. The surface should be tacky, but not super sticky and evenly coated. I really believe in spraying outside to keep aerosol adhesive out of my lungs and off of my furniture and surfaces. I sometimes use the garage floor in inclement weather with the bed sheet on the cement. These pictures are of sandwiching on the carpeted floor. I pin into the carpet, but with a solid floor - wood, tile, etc.- just use tape (I use clear packing tape or duct tape) and secure the edges.
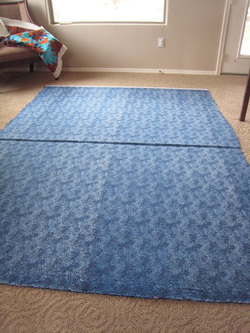
This shows my backing, wrong (sticky) side up pinned to the carpet. The pins will gradually get more and more sticky with every use so have a set just for this purpose. I have my old safety pins from a previous life as a pin baster that I often use, but the photo shows a set of pins which have large colorful heads (to find them easily) and are about 1 1/2" long and fairly sturdy. I pin into the backing of the carpet at an angle with the head of the pin away from the quilt back. Pull the back nice and smooth, but don't over-tighten. If the fabric is stretched, it will wrinkle when the pins are pulled out (or the tape removed). You can see a seam where I pieced the backing across the center. I press seams open for a flatter back.
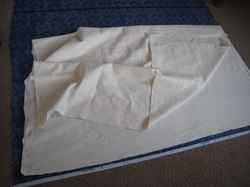
Here I am laying down my batting. I folded it in half (approximately) top to bottom and lay it down on the sticky backing. I press the edge carefully into the sticky back - pressing down to adhere. I make sure about a 6" strip is nicely stuck down at one edge, ignoring the pile of batting in the center. Only the edge nearest the bottom is pressed down at this stage.
Now I go the other end of the quilt and pull the batting up and off the backing so that only that hand pressed edge is sticking to the quilt back. You only see one side held up because the other hand is holding the camera. Now pull gently to smooth out the lumps and gently and smoothly lay down the batting.
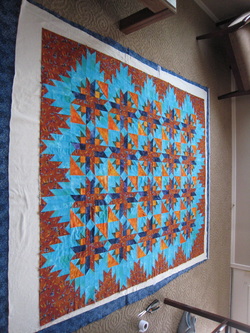
Now I need to go back and work out any lumps that are still there smoothing from one end to the other as I crawl across the quilt. I feel to make sure there aren't any large tucks in the backing and that the batting feels smooth. The spray is repositionable and I may have to lift and smooth several times on a very large quilt. Here it is nice and smooth. There is a join between 2 pieces of batting a little to the left of center - it is joined with a fusible product call Heat Press Batting Together.
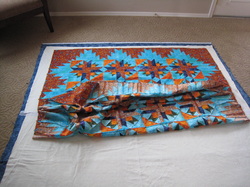
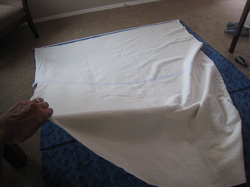
Now I am ready to put the quilt top on the sandwich. It is sprayed on the wrong side and I place it on using the same steps I used to position the batting. Here I have hand pressed the far edge down onto the batting and the rest of the quilt is casually piled in the middle. Yes, pieces of it are sticking to themselves, but it will pull apart while the far end is held in place on the batting. I did spray baste this while at home alone, but if you have a willing husband, partner, older child, parent, neighbor, etc. it will certainly help.
Now I will pull the rest of the top smooth using the far edge which has the adhesive pressed onto the batting as a third hand. Here I am holding the quilt top with both hands and the camera is also in one hand so the foreground is out of focus where it flows away from the camera.
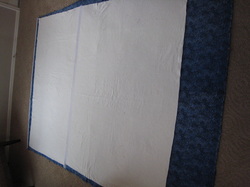
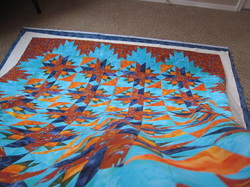
Here the top is completely smoothed out, after crawling over it and hand smoothing every inch of the top. I crawl on only those places I have already hand pressed and smoothed, with my feet up off the quilt (not the most graceful position!) I am now ready to take out the pins and take the whole sandwich to the ironing board.
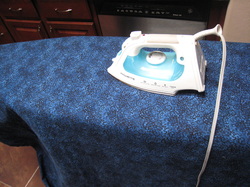
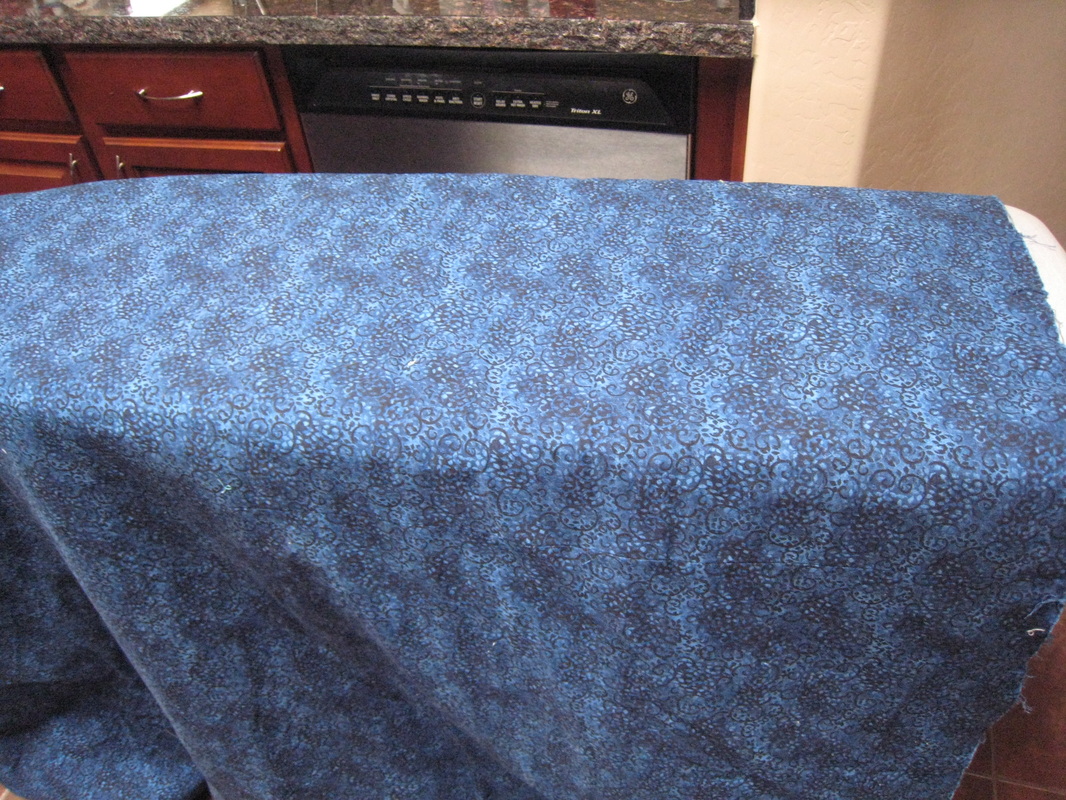
I place the quilt sandwich on the ironing board in the center of the top. It is centered top to bottom with equal amounts hanging off both in front and behind the board. In this picture the quilt is on the board with the left edge on the left edge of the board and the right edge is hanging off the right end of the board. I press from the center out, smoothing the backing as I go. Sometimes the pressing goes very easily with the slight wrinkling smoothing out as I iron, other times I need to reposition the backing and smooth out - seems to depend on the thickness of the backing and maybe the humidity? The iron is set on cotton because I have a cotton backing and top. I use steam if the iron happens to have water in it, in this picture it does not and I do that often, too. The next picture is the quilt moved over to the left so the left edge is now falling off the left end of the board. I simply go back and forth moving from the center to the top and then back to the center and to the bottom - always one side and then the other. I know that most of the spray adhesive products do not say to heat set on the can, but I know that this step works well. I gets the pieces nice and smooth and thoroughly adhered to each other. I always have problems with wrinkles in my backing if I skip this step.
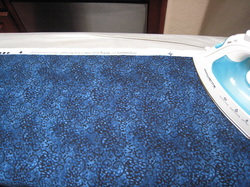
Here we are at the top of the quilt. All nice and smooth and nearly ready.
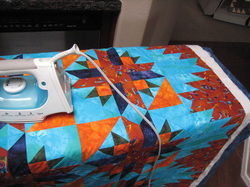
Now turn the sandwich over and do the same thing from the top. I never have as much wrinkling and work on the front side. Still, work side to side and center to top and bottom.
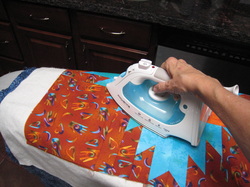
Ready to start quilting!
Hope these pictures help people see how I do this process. I love it because it hold every square inch of the top to every square inch of the batting to every square inch of the backing. I use no pins while I'm quilting and almost never have any tucks on the back. No method is without it's drawbacks, but for me this works the very best and has given me consistently excellent results. Hope you enjoy it too!
